Wireless Sensor Node - Solar Kit

Wireless Sensor Node - Solar Kit is an easy to use bundle created for experimenting with XBee and XBee compatible standalone wireless modules like RFBee and Wifi Bee. Every maker is confronted with the question of selection the right set of components to build Wireless Sensor Node. Wireless Sensor Node - Solar Kit fills this place very appropriately. The Grove - XBee Carrier provides LDO power supply, charger for LiPo Battery and programming port for XBee compatible modules. The Solar Panel provides the required charging voltage in remote areas. The 500 mAH LiPo Battery provides the backup when the Sun is away. A properly designed and configured wireless module could provide very long hours of usage. For this, put the node to sleep when not transmitting the sensor value. This kit comes with a perfectly made Transparent Box , sets of Screws and Plastic Rivets.
We suggest you to buy more than one kit to create a distributed array of Sensor Nodes.
Bees Shield along with Seeeduino and Wifi Bee can act as Wireless internet Gateway for these nodes.

Contents of the Kit
Application Ideas
Distributed Wireles Sensor Nodes with XBee or WifiBee or RFBee.
Build Data Loggers when connected with Wireless Gateway.
Intelligent Home Network
Industrial Automation
SCADA (Supervisory control and data acquisition.) systems
Cautions
- Insert the Bees in the right direction.
Specification
| Item | Specification |
|---|---|
| Grove - XBee Carrier I/O Logic | 3.3V |
| LiPo Battery | 500mAH @ 3.7V |
| Solar Panel | 0.5Watt @ 5.5V |
Usage
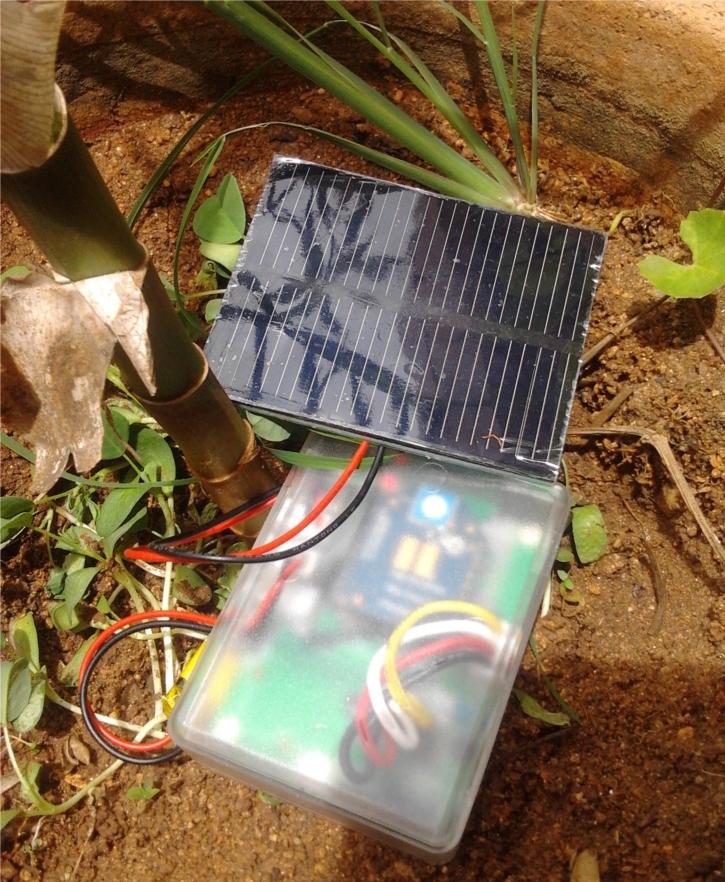
Wireless Sensor Node Field Use - Charged by Solar Panel"
Quick Start Guide
This section provides a Step-by-Step construction of a Wireless Sensor Node. Images are only for illustrating the procedure of that step. We have used two different setups of Grove - Xbee Carrier and Grove modules. So, just follow the procedure.
| Step | Procedure | Illustration |
|---|---|---|
| 1 | Open the box as shown |  |
| 1.1 | Place the LiPo Battery inside the Box |  |
| 1.2 | Insert the Solar Panel Connector |  |
| 1.3 | Open the plastic rivet |  |
| 1.4 | An opened rivet looks like this |  |
| 1.5 | Attach a Grove module with the help of Rivets. Keep the Grove - Bee Carrier as shown inside the transparent box. |  |
| 2.3 | A fully closed rivet looks like this |  |
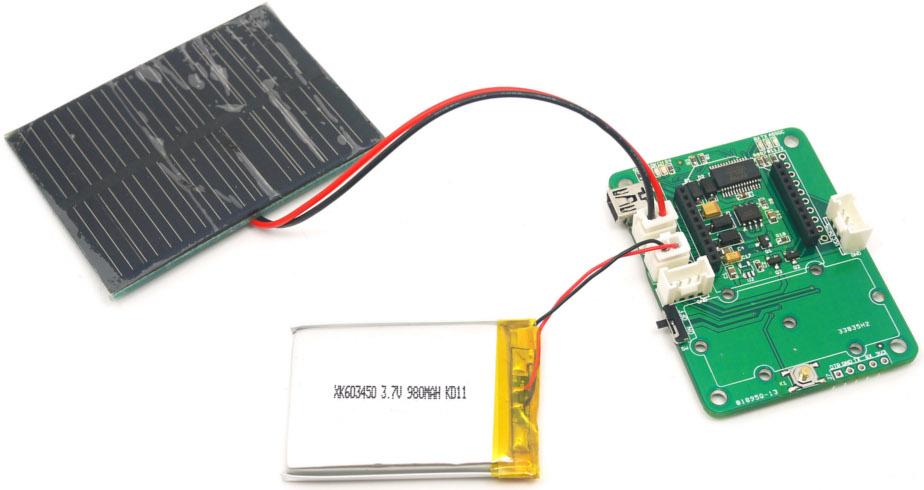
| 3.0 | Attach the 4-Wire Grove Cable, Battery and Solar Panel Connectors to Grove - XBee Carrier |  |
| 4.0 | Insert XBee module. Fix the Screw at four corners |  |
| 5.0 | Close the lid. USB socket and Power Switch are accessible from the side |  |
| 6.0 | Connect the USB cable and program the XBee |  |
Programming with various Bee Modules
Information on how to setup / program Bee Modules are available in
Image Gallery
LiPo Being Charged by Solar Panel"
See Also
Tech Support & Product Discussion
Thank you for choosing our products! We are here to provide you with different support to ensure that your experience with our products is as smooth as possible. We offer several communication channels to cater to different preferences and needs.