Grove - TF Mini LiDAR

This product is based on ToF (Time of Flight) principle and integrated with unique optical and electrical designs, so as to achieve stable, precise, high sensitivity and high-speed distance detection.
ToF is the abbreviation of Time of Flight technology, and its operating principle is as follows: a modulated near-infrared light is sent from the sensor and reflected by an object; the distance to the object to be shot can be converted with the sensor by calculating the time difference or phase difference between the light sending and the light reflection, so as to produce the depth information.

Prevent dust or any other foreign matter from entering the lens; otherwise it may affect the light transmission.
Version
| Product Version | Changes | Released Date |
|---|---|---|
| Grove-TF Mini LiDAR V1.0 | Initial | Nov 2017 |
Specification
| Product Name | TFmini |
|---|---|
| Operating range | 0.3m-12m |
| Maximum operating range at 10% reflectivity | 5m |
| Average power consumption | 0.6W |
| Applicable voltage range | 4.5V-6V |
| Acceptance angle | 2.3° |
| Minimum resolution ratio | 1cm |
| Frequency | 100Hz |
| Accuracy | 1% (less than 6m), 2% (6m-12m) |
| Distance detection unit | cm |
| Wavelength | 850nm |
| Size | 42mm×15mm×16mm |
| Operating temperature | -20℃-60℃ |
| Light sensitivity | 70,000lux |
| Weight | 4.7g |
| Communication interface | UART 115200 |
| LED peak current | 800ma |
| Serial port TTL voltage level | 3.3V |
| Electromagnetic Compatibility(EMC) | EN 55032 Class B |
More details about Grove modules please refer to [Grove System](https://wiki.seeedstudio.com/Grove_System/)
Platforms Supported
| Arduino | Raspberry Pi | |||
|---|---|---|---|---|
The platforms mentioned above as supported is/are an indication of the module's software or theoritical compatibility. We only provide software library or code examples for Arduino platform in most cases. It is not possible to provide software library / demo code for all possible MCU platforms. Hence, users have to write their own software library.
Getting Started
Play With Arduino
Hardware
- Step 1. Prepare the below stuffs:
| Seeeduino V4.2 | Base Shield | Grove-TF Mini LiDAR |
|---|---|---|
 |  |  |
| Get One Now | Get One Now | Get One Now |
Step 2. Connect Grove-TF-Mini-LiDAR to D2 port of Base Shield and connect Seeeduino to PC through a USB cable.
Step 3. Download the Demo code and copy the whole Seeed_Arduino_TFlidar file and paste it into your Arduino IDE library file.

Software
- Step 1. The Grove-TF Mini LiDAR is a hexadecimal output data. Each frame data is encoded with 9 bytes, including 1 distance data (Dist). Each distance data has corresponding signal strength information (Strength). The frame end is the data parity bit.
| Byte | Data encoding interpretation |
|---|---|
| Byte1 | 0x59, frame header, all frames are the same |
| Byte2 | 0x59, frame header, all frames are the same |
| Byte3 | Dist_L distance value is a low 8-bit. |
| Byte4 | Dist_H distance value is a high 8-bit. |
| Byte5 | Strength_L is a low 8-bit. |
| Byte6 | Strength_H is a high 8-bit. |
| Byte7 | Integration time. |
| Byte8 | Reserved bytes. |
| Byte9 | Checksum parity. |
- Step 2. Copy the code into Arduino IDE and upload.
#include "TFLidar.h"

#define USETFMINI
// #define USETFLUNA

#define SERIAL Serial

#if defined(SEEED_XIAO_M0)
    #define uart  Serial1
#elif defined(SEEED_WIO_TERMINAL)
    #define uart  Serial1
#else
    SoftwareSerial uart(2, 3);
#endif

#ifdef USETFLUNA
TFLuna SeeedTFLuna;
TFLidar SeeedTFLidar(&SeeedTFLuna);
#endif

#ifdef USETFMINI
TFMini SeeedTFMini;
TFLidar SeeedTFLidar(&SeeedTFMini);
#endif


void setup() {
  // put your setup code here, to run once:
  SERIAL.begin(9600);
  while(!Serial);
  SeeedTFLidar.begin(&uart,115200);
}

void loop() {
  while(!SeeedTFLidar.get_frame_data()){
    delay(1);
  }
  // put your main code here, to run repeatedly:
  SERIAL.print("dist = ");
  SERIAL.print(SeeedTFLidar.get_distance()); //output measure distance value of LiDAR
  SERIAL.print('\t');
  SERIAL.print("strength = ");
  SERIAL.print(SeeedTFLidar.get_strength()); //output signal strength value
#ifdef USETFLUNA
  SERIAL.print("\t Chip Temprature = ");
  SERIAL.print(SeeedTFLidar.get_chip_temperature());
  SERIAL.print(" celcius degree"); //output chip temperature of Lidar
#endif
  SERIAL.println(" ");
  // delay(1000);
}
- Step 3. We will see the distance display on terminal. The blue curve is the distance and the red is Strength.

You could delete **Line 41** to **Line 43** of the demo code if only the **Distance** is required:
SERIAL.print("strength = ");
SERIAL.print(SeeedTFLidar.get_strength()); //output signal strength value
Play With Wio Terminal
Hardware
| Wio Terminal | Grove-TF-Mini-LiDAR | Jumper |
|---|---|---|
 | |  |
| Get ONE Now | Get ONE Now | Get ONE Now |
Hardware Connection

Pinout

Please refer to the pinout instruction above before you starting to connect Wio Terminal with Jumpers.
Step 1 Plug Grove-TF-Mini-LiDAR to Wio Terminal via Jumpers and also connect Wio Terminal to PC through a USB cable.
Step 2 Download the Demo code and copy the whole Seeed_Arduino_Linechart file and paste it into your Arduino IDE library file.
Step 3 Copy the demo code into your Arduino IDE.
Software
#include"seeed_line_chart.h" //include the library
#include "TFLidar.h"
#define LINE_DIS 0X00
#define STRING_DIS 0X01
TFMini SeeedTFMini;
TFLidar SeeedTFLidar(&SeeedTFMini);
#define uart  Serial1

TFT_eSPI tft;

#define max_size 10 //maximum size of data
doubles data; //Initilising a doubles type to store data
TFT_eSprite spr = TFT_eSprite(&tft);  // Sprite

void setup() {
    Serial.begin(115200);
    pinMode(WIO_KEY_C, INPUT_PULLUP);
    tft.begin();
    tft.setRotation(3);
    spr.createSprite(TFT_HEIGHT,TFT_WIDTH);
    SeeedTFLidar.begin(&uart,115200);
}
uint8_t mode = LINE_DIS;
void loop() {

    if (digitalRead(WIO_KEY_C) == LOW) {
        mode ++;
        if(mode > STRING_DIS ) mode = LINE_DIS;
        while(!digitalRead(WIO_KEY_C));
    }
    display(get_Lidar_data(),mode);
    delay(50);
}

uint16_t get_Lidar_data()
{
    while(!SeeedTFLidar.get_frame_data()){
        delay(1);
    }
    return SeeedTFLidar.get_distance();
}

void display(uint16_t lidar_data,uint8_t mode){

    spr.fillSprite(TFT_WHITE);
    //Settings for the line graph title
    auto header =  text(0, 0)
                .value("Lidar Terminal")
                .align(center)
                .valign(vcenter)
                .width(tft.width())
                .color(green)
                .thickness(3);
    header.height(header.font_height() * 2);
    header.draw(); //Header height is the twice the height of the font
    if (LINE_DIS == mode){
        if (data.size() == max_size) {
            data.pop();//this is used to remove the first read variable
        }
        data.push(lidar_data); //read variables and store in data
    //Settings for the line graph
        auto content = line_chart(10, header.height()); //(x,y) where the line graph begins
            content
                    .height(tft.height() - header.height() * 1.5) //actual height of the line chart
                    .width(tft.width() - content.x() * 2) //actual width of the line chart
                    .based_on(0.0) //Starting point of y-axis, must be a float
                    .show_circle(false) //drawing a cirle at each point, default is on.
                    .value(data) //passing through the data to line graph
                    .color(TFT_RED) //Setting the color for the line
                    .draw();
    }
    else if (STRING_DIS == mode){
        for(int8_t line_index = 0;line_index < 5 ; line_index++)
        {
            spr.drawLine(0, 50 + line_index, tft.width(), 50 + line_index, TFT_GREEN);
        }
        auto header =  text(0, 0)
                    .thickness(1);
        spr.setFreeFont(&FreeSansBoldOblique24pt7b);
        spr.setTextColor(TFT_BLUE);
        spr.drawFloat(lidar_data / 100.00,2,80,110);
        spr.drawString(" M",80 + 90,110,1);

    }
    spr.pushSprite(0, 0);

}
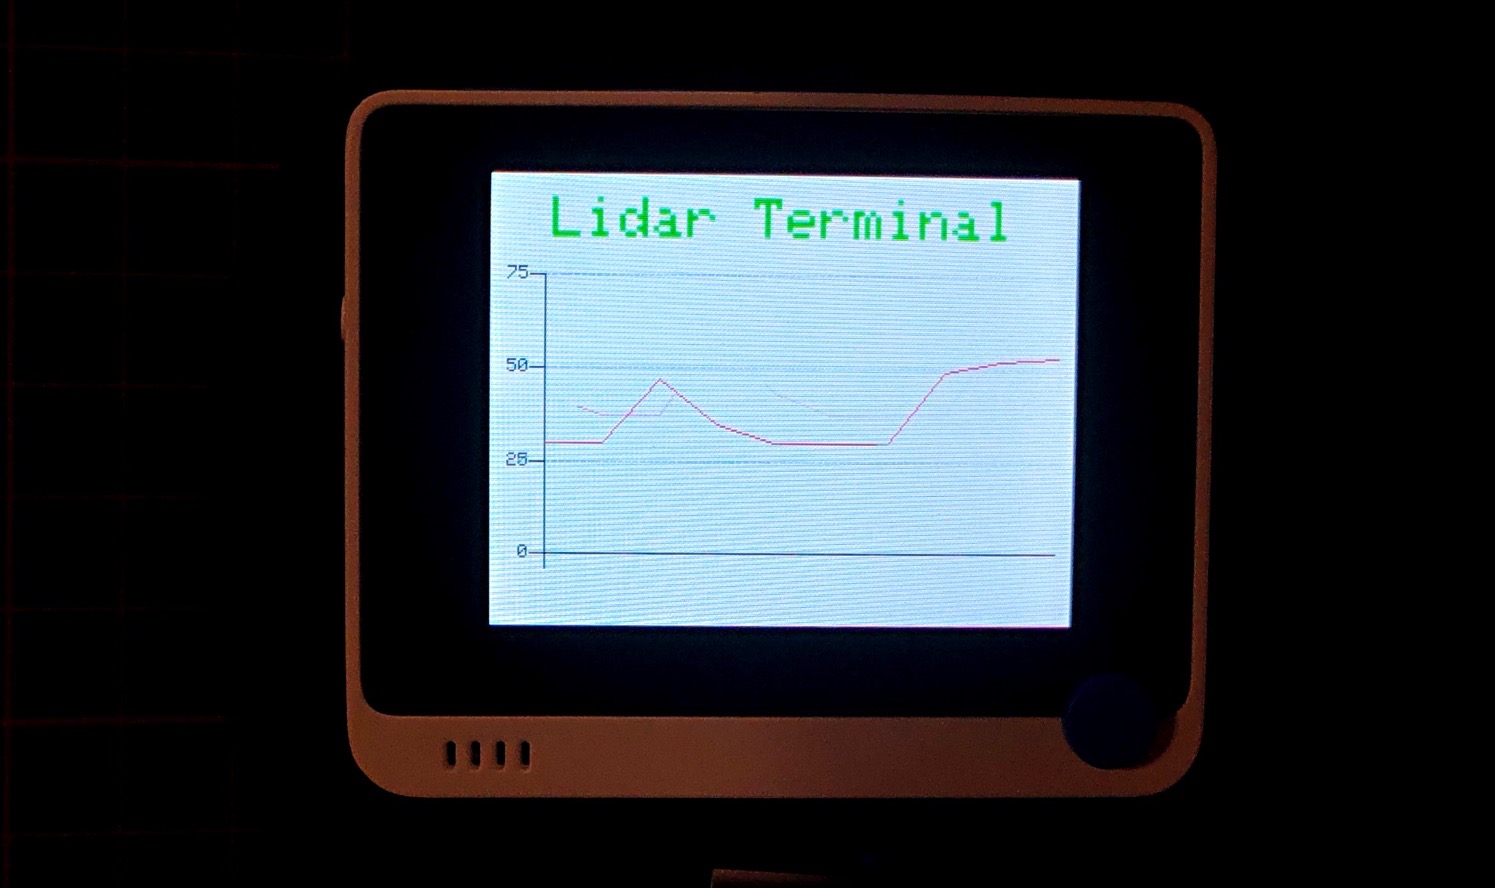
An image will display on the screen of Wio terminal as below if everything goes well.
Resources
- [Datasheet] Grove-TF-Mini-LiDAR
- [Datasheet] Grove-TF-Luna-LiDAR
- [ZIP] Seeed_Arduino_TFlidar
- [ZIP] Seeed_Arduino_Linechart
Tech Support & Product Discussion
Thank you for choosing our products! We are here to provide you with different support to ensure that your experience with our products is as smooth as possible. We offer several communication channels to cater to different preferences and needs.